Best Fish Finders Under $300
Let's be real, out on the vast, beautiful waters of Arizona, having an edge can make all the difference between a frustrating day of casting into the unknown and a truly successful, exhilarating fishing trip. Many anglers assume that a quality fish finder is a luxury item, something only for those with deep pockets and fancy bass boats, but that's simply not true. This guide is here to show you that you absolutely can find a powerful, reliable fish finder for under $300, giving you the underwater vision you need to pinpoint fish and structure without draining your wallet.
Why a Fish Finder is a Game-Changer, Even on a Budget
For years, I fished by instinct, reading the water, looking for signs of life, and mostly guessing where the fish might be. While there's a certain charm to that old-school approach, the truth is, a fish finder opens up an entirely new dimension to your fishing experience. It’s like going from navigating with a paper map to having GPS. Even an entry-level unit can dramatically improve your success rate, especially in Arizona's diverse and often challenging waters.
Unveiling Hidden Structures and Depths
Arizona's lakes and rivers can be incredibly deep, with submerged canyons, old timber, rock piles, and brush that you'd never know were there from the surface. Think about trying to find that perfect bass hideout in the deep, clear waters of Lake Mohave, or tracing the contours of the Salt River chain of lakes. A fish finder uses sonar to paint a picture of what's beneath your boat or kayak, revealing these crucial structures where fish love to hang out. Without one, you're literally fishing blind in many cases, hoping your lure lands in the right spot by sheer luck. This visual information helps you understand the topography of the lakebed, allowing you to target specific depths and cover that might be holding trophy fish.
Imagine you're out on Roosevelt Lake, known for its incredible bass fishing. You might be drifting over a seemingly featureless expanse of water, but your fish finder could be showing you a hidden submerged point dropping off into 30 feet of water, or a dense brush pile where crappie are schooling. Knowing these underwater secrets helps you adjust your presentation, choose the right lure, and cast with confidence. It transforms guesswork into an informed strategy, which is incredibly empowering.
Locating Fish and Bait Balls
Of course, the most obvious benefit of a fish finder is its ability to, well, find fish. While a basic unit might not identify species, it can certainly show you arches or blobs indicating fish present in the water column. More importantly, it can reveal bait balls, those dense schools of small fish that larger predatory fish like striped bass or even big largemouth bass absolutely love to ambush. When you see a bait ball on your screen, you know you're in the right neighborhood.
For instance, if you're targeting striped bass at Lake Powell, seeing those distinctive arches on your display, especially near a big cloud of bait, tells you exactly where to drop your jig or troll your swimbait. How to Fish a Swimbait for Striped Bass is a great resource if you're looking for more tips there. It takes the guesswork out of locating active feeding zones. Even for smaller species at community lakes, seeing a cluster of panfish near a submerged tree can guide your efforts and make your trip far more productive, especially if you're teaching kids how to fish.
Key Features to Look for in a Sub-$300 Fish Finder
When you're shopping on a budget, it's easy to get overwhelmed by the sheer number of options. The good news is that technology has advanced so much that even entry-level fish finders come packed with impressive features. The trick is knowing which features are truly essential for your style of fishing in Arizona and which ones you can live without to stay under that $300 mark.
Display Quality and Size
Don't underestimate the importance of a clear, readable display. You'll be spending a lot of time looking at it, often in bright Arizona sunshine, so a crisp screen is paramount.
While you might not get a massive, ultra-high-definition touchscreen at this price point, you can definitely find units with respectable screen sizes (think 3.5 to 5 inches) and decent resolution. Monochrome displays are typically more affordable, but color screens are becoming increasingly common and offer a much better visual experience, making it easier to distinguish between fish, bait, and structure. Look for displays that offer good contrast and can be viewed from different angles. Some cheaper units can be difficult to see if the sun hits them just right, turning your valuable information into an irritating glare.
Consider the trade-off between screen size and overall portability. For kayak anglers or those fishing from smaller boats, a compact unit might be preferable, even if it means a slightly smaller screen. On the other hand, if you have ample space, a larger screen makes interpreting the sonar much easier, reducing eye strain over a long day on the water.
Transducer and Sonar Capabilities
The transducer is the heart of your fish finder; it's the part that sends and receives the sonar waves. The quality and type of transducer dictate what kind of information your fish finder can gather. For under $300, you'll primarily be looking at traditional 2D sonar, which is still incredibly effective for finding fish and basic structure.
Many budget-friendly units now include CHIRP sonar, or a form of it, which sends out a range of frequencies instead of a single one. This results in much clearer, more detailed images, better target separation (meaning you can distinguish individual fish even in a school), and improved performance in deeper water. It's a significant upgrade over older, traditional sonar and a feature you should definitely prioritize. Some units might even boast basic down imaging, which gives you a photo-like view directly beneath your boat. This is fantastic for identifying specific types of structure, like a submerged tree versus a rock pile. While full side imaging might be out of reach at this price, down imaging is a real bonus if you can find it.
When considering sonar capabilities, also think about the cone angle of the transducer. A wider cone angle covers more area but sacrifices some detail, while a narrower cone provides more detail but less coverage. Many transducers offer dual-beam options, allowing you to switch between wider and narrower angles to suit different fishing situations and depths. This versatility can be a huge advantage.
GPS and Mapping (Basic Options)
While advanced chartplotting with detailed lake maps might push you beyond the $300 limit, many entry-level fish finders now include basic GPS functionality. This can be incredibly useful, even if it's just a simple breadcrumb trail.
A basic GPS allows you to mark waypoints, which are invaluable for remembering productive spots. Imagine you find a hot crappie brush pile or a submerged point holding big bass; you can mark that spot and easily navigate back to it on future trips. This is a game-changer for consistently hitting those honey holes. It can also help you navigate back to your launch point, especially on large, complex lakes like Lake Pleasant, or during low light conditions. Some units might even come with rudimentary base maps of major bodies of water, showing basic shorelines and depths. While not as detailed as premium charts, it's certainly better than nothing and helps with general navigation and understanding your position on the water. For more information on navigating these waters, check out Best Fishing Lakes in Arizona.
Top Fish Finder Technologies and What They Do
The world of fish finders can seem like a jumble of technical terms and acronyms. Let's break down the most common technologies you'll encounter, especially in the sub-$300 range, and explain what they actually do for you on the water. Understanding these will help you make an informed decision when comparing different models.
Traditional 2D Sonar
Traditional 2D sonar is the bedrock of all fish finders, and it's what most people picture when they think of a sonar screen. This technology sends a pulse of sound waves down into the water in a cone shape. When these waves hit an object – whether it's the bottom, a fish, or a submerged tree – they bounce back to the transducer. The fish finder measures the time it takes for the echo to return and uses that information to determine the depth and location of the object.
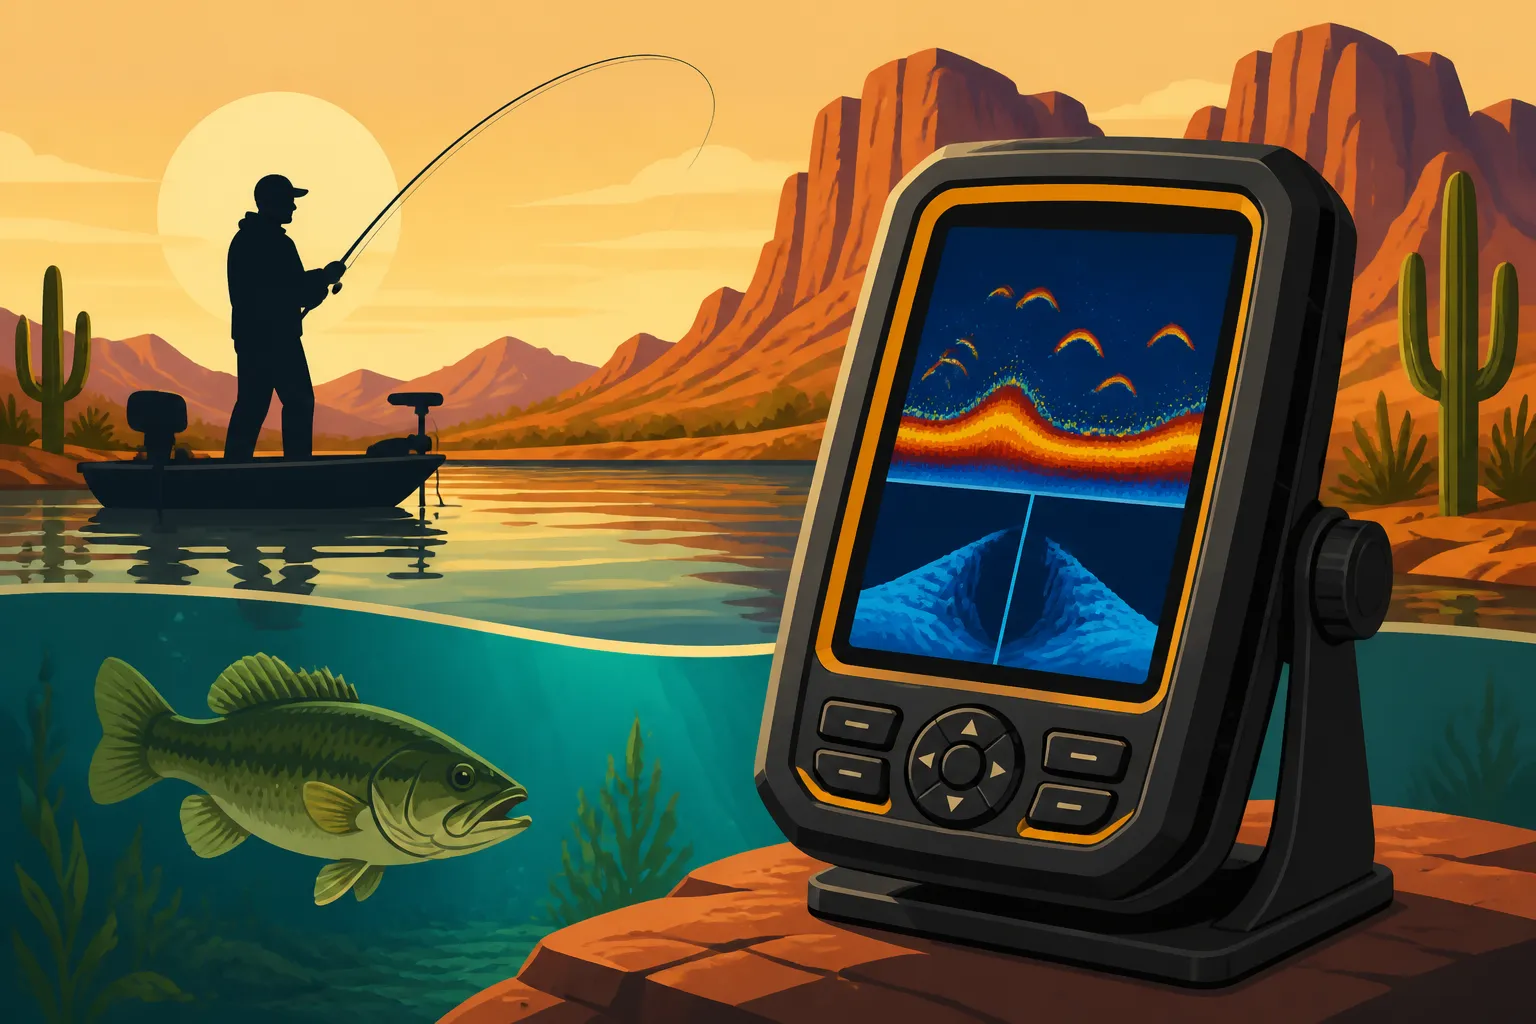
On your screen, traditional 2D sonar typically displays the bottom as a solid line, with objects above it appearing as arches or lines. A strong, thick arch usually indicates a larger fish, while smaller, thinner arches or dashes might be smaller fish or bait. The color or intensity of the return can also indicate the strength of the target, giving you clues about its size or density. While it might not be as visually intuitive as some newer technologies, 2D sonar is incredibly effective at marking fish, especially in deeper water, and it's usually the most robust and reliable technology found in budget-friendly units. Learning to interpret these arches is a fundamental skill for any angler using a fish finder.
CHIRP Sonar
CHIRP (Compressed High-Intensity Radiated Pulse) sonar is a significant advancement over traditional 2D sonar and is increasingly found even in more affordable fish finders. Instead of sending out a single frequency pulse, CHIRP sends out a continuous sweep of frequencies (from low to high) during each pulse. When the echoes return, the fish finder processes this broader range of information, leading to several key benefits.
First, CHIRP provides much clearer and crisper images. This means you can see finer details, like individual branches on a submerged tree or smaller baitfish within a school. Second, it offers superior target separation, which is crucial for distinguishing between multiple fish that are close together or differentiating a fish from the bottom structure. Where traditional sonar might show a single blob, CHIRP can sometimes resolve two distinct fish. Third, CHIRP often performs better in deeper water and can cut through noise and interference more effectively. This results in less clutter on your screen and a more accurate representation of the underwater world. If a unit in your price range boasts CHIRP, it's a feature well worth having for its enhanced clarity and detail.
Down Imaging (Basic)
Down Imaging (or DownScan, depending on the brand) is another fantastic technology that has trickled down into the sub-$300 price bracket. Unlike traditional 2D sonar which uses a cone-shaped beam, down imaging uses a very thin, fan-shaped beam that scans directly beneath your boat. This narrow beam provides a much more photo-like image of what's directly below, making it much easier to identify specific structures.
Where traditional sonar might show an amorphous blob for a submerged tree, down imaging can often render the distinct shape of the tree, complete with branches. This is incredibly helpful for differentiating between different types of cover – is that a rock pile or a brush pile? Down imaging helps answer that question with much greater certainty. While the coverage area is narrower than 2D sonar, the detail it provides directly beneath your vessel is unparalleled at this price point. It helps you understand exactly what kind of cover fish are relating to, allowing you to present your lure more effectively.
How to Choose the Right Fish Finder for Your Arizona Fishing Style
Arizona offers a huge variety of fishing experiences, from the vast, deep reservoirs like Lake Powell and Lake Mead to the shallow, current-heavy sections of the Colorado River, and the smaller, frequently stocked community lakes. Your fishing style and the types of water you typically fish should heavily influence your fish finder choice, even when you're on a budget.
Shore Anglers and Kayak Fishers
If you primarily fish from shore or a kayak, portability and ease of installation are paramount. For shore anglers who move frequently, a castable fish finder that pairs with your smartphone might be an excellent budget option, though it won't offer continuous sonar like a mounted unit. For kayak anglers, a compact, all-in-one unit with a simple mounting system and a small battery is ideal. Look for units that are easy to detach and carry. Many feature suction cup mounts for the transducer or arm mounts that clamp onto your kayak's rails, making setup and breakdown a breeze.
Consider power consumption too, as you'll likely be running off a small 12V battery. A less power-hungry unit means longer fishing sessions without needing a recharge. The Humminbird PiranhaMax or a smaller Garmin Striker series unit are often popular choices in this category, and you can frequently find them at Bass Pro Shops or online retailers like Amazon. They offer enough punch to mark fish and structure without overwhelming your compact setup. Kayak Fishing Techniques for Desert Lakes might give you more ideas on how to integrate this tech.
Small Boat and Jon Boat Anglers
For those with small boats, like jon boats, aluminum skiffs, or smaller bass boats, you have a bit more flexibility in terms of screen size and features. You can typically accommodate a 5-inch display comfortably and might want to prioritize units with better CHIRP sonar or even basic down imaging for a clearer picture of structure. Installation is generally straightforward with transom-mount transducers and easy-to-install head units.
Reliability in varying depths is key here. Arizona's larger lakes can get deep, so a unit that maintains good signal integrity in 50-100 feet of water is beneficial. Also, consider ease of use. You'll want a system with intuitive buttons and menus that you can operate quickly while managing your boat and fishing lines. While you're still in the sub-$300 range, you can often find slightly more robust units that offer a bit more processing power for faster screen refreshes and crisper images.
Targeting Specific Species
Different fish species often relate to structure and depths differently, and your fish finder can help you tailor your approach.
- Bass: Largemouth and smallmouth bass often hug structure like submerged trees, rock piles, or ledges. For bass, detailed down imaging can be invaluable for identifying those specific pieces of cover. You'll want good target separation to pick out individual bass from the structure.
- Trout: In stocked lakes and streams, trout can be found suspended or near the bottom. Good 2D sonar with clear arches will help you locate them in the water column. Best Trout Fishing Techniques for Arizona Waters has more details.
- Crappie: Crappie are notorious for schooling up tightly around brush piles, standing timber, or bridge pilings. CHIRP sonar with excellent target separation is a huge asset for distinguishing these dense schools.
- Catfish: Catfish, especially flatheads, often sit right on the bottom or in deeper holes. A unit with reliable bottom tracking and good depth penetration is crucial. You'll be looking for those strong bottom returns and any arches sitting very close to the bottom.
Installation and Setup Tips for Your Budget Fish Finder
So, you've picked out your new fish finder. Congratulations! Now comes the crucial step: getting it properly installed and set up so you can actually reap its benefits. Proper installation is critical for optimal performance; even the best fish finder won't work well if its transducer isn't positioned correctly.
Mounting the Transducer
The transducer is the most important part of the installation process. Its job is to "see" underwater, and any obstruction or turbulence can severely impact its performance.
- Transom Mount (Boats): For most small boats, a transom-mount transducer is the easiest and most common option. The key is to mount it in an area of clean, turbulent-free water flow. Ideally, it should be mounted on the starboard (right) side of the boat, slightly below the hull, but not so deep that it creates excessive drag. You want it just deep enough to remain submerged and clear of aerated water (bubbles) when the boat is moving. Avoid mounting it directly behind strakes, rivets, or the motor, as these will create "dirty" water that interferes with the sonar signal. Take your time to adjust the angle to be perfectly horizontal, ensuring the sonar beam points straight down.
- Kayak Mounts: Kayakers have a few options. Many budget fish finders come with suction cup transducers that can be temporarily stuck to the hull. This is convenient but can sometimes lose suction or be knocked off. A more reliable option is an arm mount that clamps to your kayak and positions the transducer directly in the water. For a cleaner look and better protection, some kayakers opt for "shoot-through-hull" mounting, where the transducer is epoxied inside the hull (if your kayak has a single layer of fiberglass/polyethylene). This eliminates external drag and snagging but can reduce sonar sensitivity slightly. Make sure there are no air bubbles in the epoxy for the best results.
Wiring and Power Considerations
Proper wiring is essential for reliable operation. Most fish finders run on a 12-volt DC power source, typically a marine battery.
- Battery Choice: For smaller boats and kayaks, a small, deep-cycle marine battery is usually sufficient. Look for a battery that can provide enough amp-hours for your typical fishing day without running dry. Consider how many hours you expect to run the unit and choose a battery with appropriate capacity.
- Fuse Protection: Always, always, always include an in-line fuse on the positive wire from your battery to the fish finder. This protects your unit from power surges and short circuits. The fish finder's manual will specify the correct fuse size.
- Clean Connections: Ensure all electrical connections are clean, tight, and protected from corrosion, especially in a damp marine environment. Use heat-shrink tubing or marine-grade electrical tape to seal connections. Loose or corroded wires can lead to intermittent power and poor performance. Route cables neatly and securely, away from potential snagging points or sources of electrical interference.
Initial Setup and Adjustments
Once installed, it's time to fire up your fish finder and get it dialed in.
- Read the Manual: This might sound basic, but seriously, read the manual. Each unit has its own nuances, and the manual will guide you through initial settings, menu navigation, and troubleshooting.
- Sensitivity and Gain: These are critical settings. Start with the automatic or default settings, and then adjust manually. Sensitivity (or gain) controls how much detail the sonar displays. Too low, and you'll miss fish; too high, and you'll get excessive clutter. Experiment in different depths and water conditions to find the sweet spot where you see clear returns without too much noise.
- Depth Range: Set your depth range appropriately for the water you're fishing. If you're in 20 feet of water, don't set the range to 100 feet; this will compress the image and make it harder to see details.
- Fish ID vs. Raw Sonar: Many budget units offer "Fish ID" which displays fish icons instead of arches. While tempting for beginners, I highly recommend learning to read the raw sonar arches. Fish ID can be inaccurate, sometimes identifying structure or debris as fish. The raw sonar gives you a truer picture.
Getting the Most Out of Your Budget Fish Finder
Having a fish finder is one thing; knowing how to use it effectively to improve your fishing is another. Even an inexpensive unit can become a powerful tool in your arsenal if you invest a little time in understanding what it's telling you. Think of it as learning a new language – the language of the underwater world.
Learning to Interpret the Screen
This is arguably the most important skill to develop. Don't expect to instantly understand everything your screen shows you. It takes practice and observation.
- Bottom Contour: Pay attention to the shape of the bottom. Is it flat? Does it have humps, dips, or steep drop-offs? Fish, especially bass, often relate to changes in bottom contour. A sudden change from 10 feet to 20 feet often signals a prime ambush point.
- Hard vs. Soft Bottom: A thicker, more intense bottom return usually indicates a harder bottom (rock, gravel), while a thinner, less intense return suggests a softer bottom (mud, silt). Different species prefer different bottom types, and your lures will behave differently on them.
- Arches and Icons: As mentioned, try to learn to read the arches. A strong, well-defined arch typically means a fish. The position and size of the arch can give clues about the fish's depth and size. If your unit offers it, try switching between raw sonar and fish ID (if it has one) to see the difference, but always rely on the raw data for true interpretation. How to Read a Fish Finder for Bass is a good starting point.
- Clutter and Noise: Sometimes you'll see a lot of random dots and lines (clutter). This can be caused by bubbles, debris, or electrical interference. Learn to distinguish this from actual fish or structure. Adjusting sensitivity can help.
Integrating Sonar Information with Your Fishing Strategy
Your fish finder isn't just for finding fish; it's a tool to build a comprehensive fishing strategy.
- Mapping Your Hot Spots: Use the GPS function to mark waypoints for productive areas. Found a submerged creek channel in Lake Havasu that's holding catfish? Mark it! Hit a school of crappie tucked into a brush pile on Alamo Lake? Mark it! Over time, you'll build a personal map of honey holes that no pre-loaded map can provide. These waypoints become invaluable for returning to proven areas quickly and efficiently.
- Understanding Fish Behavior: Observe how fish appear on your screen relative to structure and depth. Are they suspended over deep water? Are they tucked tight to the bottom in cover? Are they chasing bait balls near the surface? This information helps you choose the right presentation – deep jigging, shallow crankbaits, or topwater lures. It allows you to adapt your tactics to what the fish are actually doing, rather than just blindly casting.
- Weather and Seasonal Patterns: Combine your fish finder's insights with knowledge of local weather and seasonal patterns. In summer, bass might hold deeper; in spring, they might be shallower for spawning. Your fish finder helps you confirm these patterns in real-time. For example, during the Arizona monsoon season, fish might move to different depths or structures after heavy rains, and your fish finder can help you locate these new patterns.
Maintenance and Care for Longevity
Even a budget fish finder is an investment, and proper care will ensure it lasts for many seasons of fishing.
- Cleanliness: After each trip, wipe down the screen and unit with a soft, damp cloth. Avoid harsh chemicals that can damage the display. Keep the transducer free of marine growth, mud, or debris.
- Storage: When not in use, remove the head unit from the boat or kayak (if it's easily detachable). Store it in a dry, temperate place, away from extreme heat or cold, especially during the harsh Arizona summers or infrequent winter freezes. Protect the screen from scratches.
- Battery Care: Properly charge and maintain your marine battery. For lead-acid batteries, ensure terminals are clean and tight. If you store your battery for extended periods, consider a trickle charger to maintain its charge.
- Cable Integrity: Periodically inspect cables for any nicks, cuts, or signs of wear. Damaged cables can lead to signal loss or power issues. Address any damage promptly to prevent further problems.
With a little research and an understanding of your fishing needs, finding an excellent fish finder for under $300 is not only possible but can fundamentally change how you experience fishing in Arizona's incredible waters. You don't need the most expensive gear to be a successful angler; you just need the right tools and the knowledge to use them.
Comparing Entry-Level Fish Finder Features
To help you visualize what you might get in the sub-$300 range, here's a general comparison of feature sets. Remember, specific brands and models will vary, but this table provides a useful framework.
| Feature Category | Basic Model (Often under $150) | Mid-Range Budget Model (Often $150-$300) |
|---|---|---|
| Display | Monochrome, 3.5-4 inch, low resolution | Color, 4-5 inch, good resolution |
| Sonar Type | Traditional 2D Sonar | Traditional 2D Sonar with CHIRP enhancement |
| Imaging | None | Basic Down Imaging (select models) |
| GPS | None or basic waypoint marking only | Basic GPS with waypoint marking, breadcrumbs |
| Transducer | Single frequency (e.g., 200 kHz) | Dual-beam or Broadband (CHIRP enabled) |
| Portability | Very compact, often castable or small mount | Compact to medium size, versatile mounting |
| Power Needs | Very low | Low to moderate |
| Ideal For | Beginners, casual anglers, small kayaks, shore fishing | More serious kayak/small boat anglers, diverse waters |
| Key Benefits | Simple to use, budget-friendly, marks fish | Better detail, clearer images, basic navigation |
This table shows that while a "basic" model will get you on the water with rudimentary fish finding, stretching your budget towards the $300 mark often unlocks significant upgrades in display quality, sonar technology, and GPS capabilities. Keep an eye out for sales at retailers like Bass Pro Shops or on online platforms such as Amazon, as you might snag a model with even better features when they're running promotions.
Disclaimer
This article is for general informational purposes only and does not constitute professional advice. Laws, prices and regulations vary by location and change over time. Consult a qualified professional for guidance on your specific situation.