Best Way to Keep Fish Fresh in Desert Heat
There’s nothing quite like reeling in a beautiful fish under the Arizona sun, but that joy can quickly turn into frustration if your prize catch spoils before you even get it home. The brutal desert heat is an unforgiving adversary for fresh fish, accelerating spoilage faster than you might imagine. This guide is all about giving you the proven strategies and practical tips to ensure your hard-earned catch stays fresh, delicious, and safe for the dinner table, even in the hottest conditions.
Understanding the Enemy: Why Desert Heat is a Fish's Worst Foe
Fishing in Arizona often means dealing with intense sunshine and temperatures that can feel like an oven. While we love the warmth, it's the absolute worst environment for maintaining the quality of your fresh catch. Fish are incredibly delicate, and once they're out of the water, a biological clock starts ticking, sped up dramatically by heat. Ignoring this reality is the fastest way to ruin a perfectly good fish.
The Science of Spoilage: Bacteria and Enzymes
When a fish is caught, two primary mechanisms begin to break down its flesh: bacteria and enzymes. Bacteria, naturally present on the fish's skin, gills, and in its gut, multiply rapidly when exposed to warmth. Think of it like a party in a hot tub – they thrive in warm, moist environments. These bacteria consume the fish's tissue, producing off-flavors and odors, and eventually making the fish unsafe to eat. The warmer it is, the faster this bacterial bloom occurs. In Arizona's extreme temperatures, this process can happen at an alarming rate, turning a pristine fillet mushy and malodorous in just a few hours.
At the same time, naturally occurring enzymes within the fish's own body start to break down its cellular structure. These enzymes, which are vital for life processes, continue to work after death, albeit in a different way. Heat greatly increases their activity, leading to a softer, less firm texture and a deterioration of flavor. What might take a day or two in cooler climates can be a matter of hours when the mercury climbs above 100 degrees Fahrenheit. Understanding this biological reality is the first step to combating spoilage effectively.
Common Mistakes That Ruin Your Catch
Many anglers, especially those new to desert fishing, unwittingly make mistakes that compromise their catch. The most common culprit is simply leaving the fish exposed to the air and sun. Whether it’s tossing it onto the boat deck, leaving it on the bank, or even just in a bucket of warm lake water, these actions are signing a death warrant for your fish's freshness. The radiant heat from surfaces and direct sunlight will warm the fish's flesh alarmingly fast.
Another frequent error is relying on insufficient cooling. A handful of ice cubes in a cheap cooler just won't cut it. The ice will melt too quickly, and the fish will end up swimming in lukewarm water, which is almost as bad as no ice at all. Furthermore, not cleaning the fish promptly can also lead to issues. The gut contents, in particular, contain a high concentration of bacteria and enzymes that contribute significantly to rapid spoilage. Overcoming these common pitfalls requires a proactive and informed approach.
Immediate Steps on the Water: Your First Line of Defense
When it comes to keeping your fish fresh in the Arizona heat, what you do in the first few minutes after the catch is absolutely critical. This isn't just about throwing it in a cooler; it's about a series of deliberate actions that interrupt the spoilage process before it even gets a strong foothold. Think of it as a race against time, where every second counts. The quicker and more effectively you cool and prepare your fish, the better the end result will be.
Bleeding Your Catch Immediately
One of the most impactful steps you can take is to bleed your fish as soon as it's caught. Fish blood contains a lot of iron, which not only contributes to a stronger, "fishier" taste but also provides an excellent medium for bacterial growth. By bleeding the fish, you remove much of this blood, significantly improving the flavor, texture, and shelf life of the meat. It also results in a cleaner fillet with less bloodline to deal with later.
To bleed a fish, you simply need to make a quick, clean cut that severs the main artery, typically located near the gills or just behind the pectoral fin. For many fish, a cut across the throat (the isthmus) is effective. For larger species, you might make a cut just under the gill plate, taking care not to cut through the gills themselves. Once cut, place the fish in a bucket of water or directly into your ice slurry (more on that next) to allow the blood to pump out. The fish's heart will continue to beat for a short time, effectively flushing the blood from its system. This simple act makes a huge difference, especially for species like stripers or catfish.
The Ice Bath: More Than Just Cooling
After bleeding, the absolute next step is to get your fish into an immediate, extreme cold environment. This means an ice slurry, not just ice cubes. An ice slurry is a mixture of ice and water, ideally at a ratio that keeps the water just above freezing. Why a slurry and not just ice? Water conducts heat much more efficiently than air. When a fish is surrounded by an ice-water mixture, its core temperature drops much faster and more evenly than if it were just lying on top of ice or in an empty cooler with ice cubes.
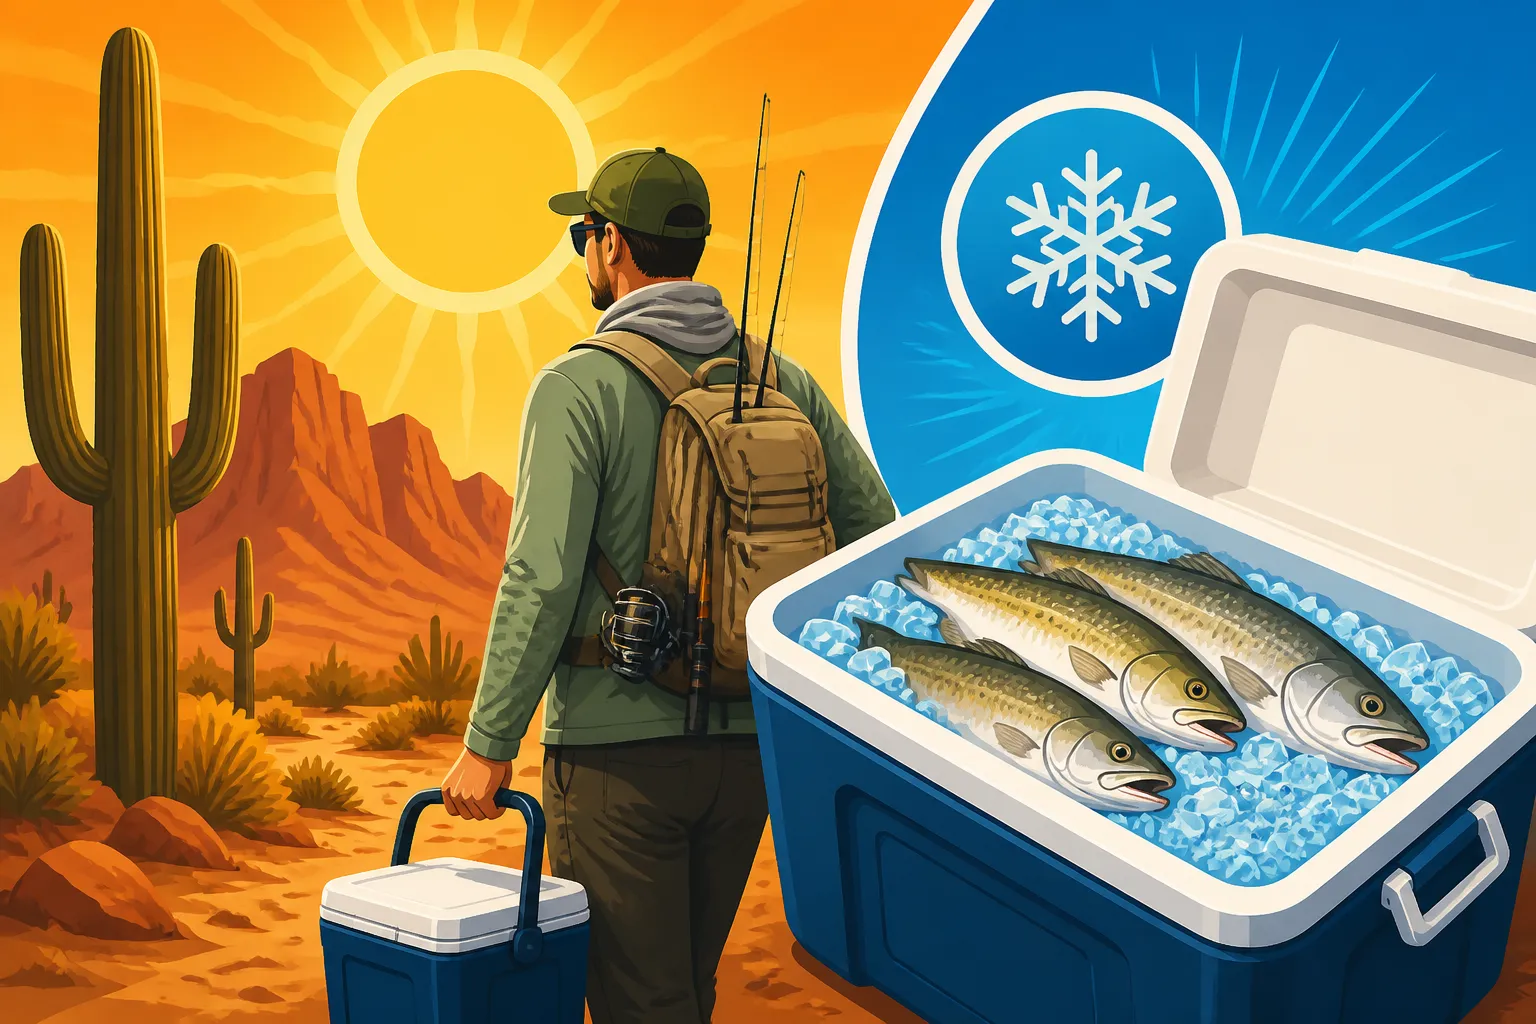
The ideal setup involves a well-insulated cooler. Brands like Yeti or RTIC are popular for their superior insulation, but any good quality cooler will help. Fill your cooler with a generous amount of ice and some water, creating a slushy, icy bath. As you add fish, ensure they are fully submerged in this slurry. The goal is to bring the fish's internal temperature down as rapidly as possible to halt bacterial and enzymatic activity. Some anglers even pre-chill their coolers with a bag of sacrificial ice before heading out. For a comprehensive guide on ice fishing, check out Ice-Free Winter Fishing Techniques.
Protecting Your Cooler from the Sun
Even the best-insulated cooler can struggle against the relentless Arizona sun if left exposed. Once you've got your fish in the ice slurry, take steps to protect your cooler from direct sunlight. Position it in the shade if possible, whether that's under a boat seat, beneath a bimini top, or even under a damp towel you've laid over it. A white or light-colored cooler will reflect more sunlight than a dark one, helping to keep the internal temperature stable.
Avoid opening the cooler unnecessarily. Every time you lift the lid, precious cold air escapes, and warm air rushes in. Plan your retrieval strategy so you're not constantly opening and closing the cooler. If you're on a long fishing trip, it might even be wise to have a separate cooler for drinks and snacks, so your fish cooler remains sealed and undisturbed. A little foresight here can drastically extend the life of your ice and the freshness of your fish.
The Journey Home: Maintaining Freshness Off the Water
You've done a fantastic job of quickly bleeding and icing your catch, but the battle isn't over yet. The trip home, whether it's a short drive or a longer haul, presents its own set of challenges in the desert heat. Maintaining that crucial cold chain and dealing with the fish effectively before it hits your kitchen counter is key to preserving its peak quality. Think about your fish's comfort level; just like you wouldn't want to bake in a car, neither does your catch.
Proper Fish Cleaning Techniques (Even in the Field)
While it's ideal to clean your fish at home, sometimes conditions or regulations might necessitate field dressing. Field dressing simply means gutting the fish to remove its internal organs, which are hotbeds for bacteria and enzymes. Even if you plan to fillet at home, removing the guts significantly slows down spoilage. To field dress, make a cut from the vent (anus) to just under the chin, carefully remove all internal organs, and scrape out any bloodline along the backbone. Rinse the cavity with cold water if available, or wipe it clean.
If you have the skills and the proper tools, you might even consider filleting some species right there on the water or at a designated cleaning station. Fresh fillets, properly rinsed and placed back on ice, will take up less space and are often preferred for their convenience. However, be mindful of local regulations, as some areas require fish to be brought to shore in a whole state for identification purposes. Always check the Arizona Fishing Regulations Explained before you head out. For beginners, filleting can be a bit daunting, but it's a valuable skill. Many resources, like videos on Amazon, offer great tutorials on proper filleting techniques for different fish species.
Keeping Your Cooler Contents Organized
As you add more fish to your cooler, it's easy for things to get disorganized, potentially compromising the cold. The key is to ensure every fish, particularly larger ones, remains fully surrounded by the ice-water slurry. Avoid just stacking fish on top of each other, creating warm pockets. Try to layer fish with plenty of ice and water in between. If you have multiple large fish, you might need more than one cooler or be prepared to add more ice frequently.
Consider bringing an extra bag of ice, especially on those scorching Arizona summer days. You can pick these up at gas stations or convenience stores on your way home. It’s a small investment that pays off big time in freshness. Also, keeping separate bags for different species or for bait can help prevent cross-contamination and maintain the integrity of your main cooler’s contents. Proper organization minimizes thermal bridges and keeps every piece of fish submerged in that vital cold bath.
Rapid Transport and Storage at Home
The minute your fishing trip is over, the clock starts ticking even faster for getting your fish properly stored at home. Minimize your travel time if possible. If you have a long drive ahead, consider stopping for more ice to refresh your cooler's contents. Don't leave your cooler sitting in a hot vehicle unnecessarily; transfer it to a cooler spot like your garage or directly into your kitchen as soon as you arrive.
Once home, immediately transfer your fish from the cooler. If they're whole, clean them thoroughly. If they're already filleted, rinse them under cold running water, pat them dry, and prepare for either short-term refrigeration or long-term freezing. The goal is to move them from the ice bath to their final storage as quickly and hygienically as possible. Any delay at this stage can undo all your hard work on the water.
Long-Term Freshness: Storage Solutions for Your Harvest
You’ve successfully navigated the desert heat and brought your catch home in pristine condition. Now, the final step is proper storage to ensure that delicious fish can be enjoyed days, weeks, or even months down the line. Different storage methods suit different timelines, and understanding them is crucial for maximizing your culinary enjoyment.
Refrigeration for Short-Term Enjoyment
If you plan to eat your fish within a day or two, refrigeration is your go-to. However, simply throwing a fillet in a plastic bag in the fridge isn't the best method. The ideal way to keep fish fresh in the refrigerator is to place it in a shallow pan, uncovered, on a bed of ice. Then, cover the fish loosely with plastic wrap or parchment paper. The melting ice will continuously drain away, keeping the fish extremely cold and moist without letting it sit in stagnant water.
Alternatively, you can place your cleaned and patted-dry fillets in a zippered freezer bag, press out as much air as possible, and then place that bag on ice in a bowl in the fridge. The key is consistent, near-freezing temperatures. Fish stored this way can remain excellent for 1-2 days. Beyond that, the quality starts to degrade, making freezing a better option. You might find quality coolers and ice packs perfect for this short-term storage at your local Bass Pro Shops.
Freezing for Extended Preservation
For anything beyond a couple of days, freezing is the answer. The biggest enemy of frozen fish is freezer burn, which occurs when air comes into contact with the fish, drying it out and changing its texture and flavor. To prevent this, proper packaging is paramount.
One of the best methods is vacuum sealing. A vacuum sealer removes almost all the air from around the fish, preventing freezer burn almost entirely. This can extend the freezer life of fish for six months to a year or even longer without significant loss of quality. You can find excellent vacuum sealers and bags on Amazon that are user-friendly and highly effective.
Another effective method, especially for fillets or smaller fish, is water glazing. Place your cleaned fish in a container, cover it with water, and then freeze it. Once frozen, remove the block of ice with the fish inside and wrap it tightly in freezer paper or a freezer bag. This ice shell acts as a barrier, protecting the fish from oxygen exposure. For larger fish, wrapping tightly in plastic wrap, then in heavy-duty aluminum foil, and finally in a freezer bag can also work well, but it's generally less effective than vacuum sealing or water glazing. Regardless of the method, label your packages with the date and type of fish. Knowing Arizona Fishing Season Dates and Limits can help you plan your fishing trips and subsequent storage needs.
Here's a quick comparison of popular fish preservation methods:
| Method | Best For | Key Benefit | Timeframe (Optimal) | Notes |
|---|---|---|---|---|
| Ice Slurry (Cooler) | Immediate Post-Catch | Rapid cooling, halts spoilage | Hours | Crucial for initial freshness; water + ice mix is key. |
| Refrigeration (Ice) | Short-Term Enjoyment | Keeps fresh, ready to cook | 1-2 Days | Store fish on a bed of fresh ice in a container, draining water. |
| Vacuum Sealing | Long-Term Freezing | Prevents freezer burn, retains flavor | 6-12 Months | Requires a vacuum sealer; excellent for maintaining quality. |
| Water Glazing | Long-Term Freezing (DIY) | Forms protective ice barrier | 3-6 Months | Freeze fish in water, then package; good alternative to vacuum. |
| Heavy-Duty Wrapping | Medium-Term Freezing | Protects against some freezer burn | 2-4 Months | Layer plastic wrap, foil, and freezer bag; less effective than vacuum. |
Following these steps, from the moment your fish leaves the water to its long-term storage, will ensure that your Arizona fishing adventures are not only memorable for the catch but also for the delicious meals you'll create. Knowing Fishing License Age Requirements in Arizona and Arizona Fishing License Types Compared can help you plan your trips effectively so you can focus on these important preservation steps. Don't let the heat win the battle over your hard-earned bounty! For more details on what you can legally keep, review Fishing Bag and Possession Limits Explained.
Disclaimer
This article is for general informational purposes only and does not constitute professional advice. Laws, prices and regulations vary by location and change over time. Consult a qualified professional for guidance on your specific situation.